From Slushes to Smoothies: Which Taylor Frozen Beverage Machine Fits Your Business?
October 24, 2026
7 Signs Frozen Beverages Could Help Grow Your C-Store Sales
October 28, 2026
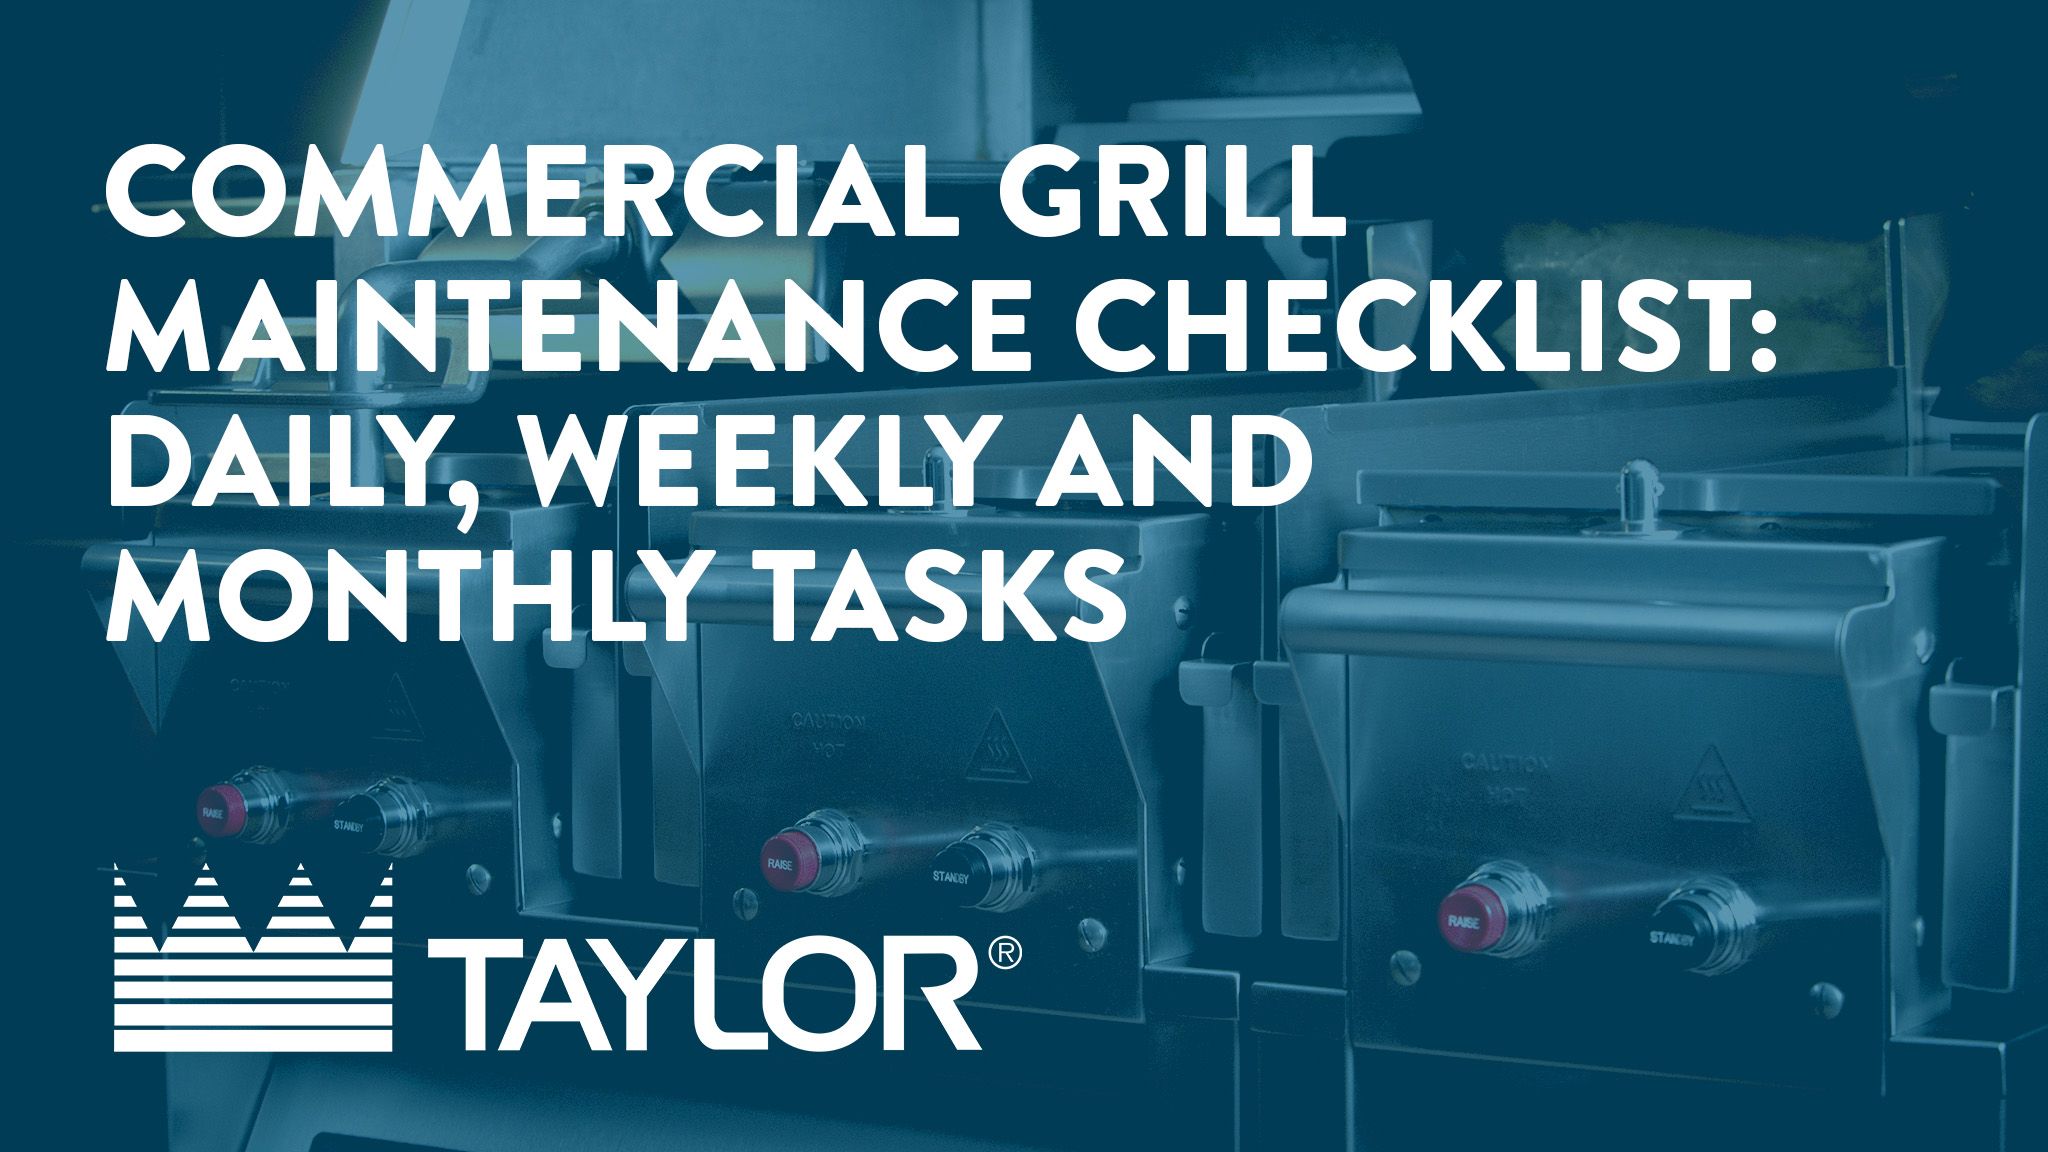
Commercial Grill Maintenance Checklist: Daily, Weekly and Monthly Tasks
In a busy QSR or fast casual kitchen, the clamshell grill works from open to close. Burgers, chicken and breakfast items cycle through all day, and every run leaves grease and carbon on the platens and lower plate. Kitchens that handle buildup with a simple clamshell grill maintenance routine get consistent cook times, even searing and longer equipment life. A Taylor clamshell grill is designed to deliver repeatable results zone after zone. But grease and carbon buildup can quietly change how heat transfers, how product cooks, and how smoothly the platen operates.
Daily habits protect:
- Cook consistency (even color and doneness across zones)
- Release sheet life (less tearing, less sticking, fewer replacements)
- Crew safety (fewer burn risks and fewer “quick fixes” that cause damage)
- Long-term reliability (less buildup in hard-to-reach areas)
A Taylor distributor can help set the schedule and train the crew, so good habits stick. This commercial grill maintenance checklist splits the work into daily, weekly and monthly tasks any crew can follow shift after shift.
Why a Grill Maintenance Checklist Matters
Taylor commercial grills are built for high-volume, two-sided cooking, and they perform best when crews clean them the same way every time. Clean platens and properly installed release sheets transfer heat evenly, which keeps cook times on target and product quality consistent. A grill maintenance schedule also takes the guesswork out of shift changes, since every operator knows what's done and what's next.
If you're still weighing a clamshell grill vs flat-top grill, keep in mind that a clamshell's upper platen and release sheets add a few extra steps to two-sided grill maintenance.
Exact steps vary by model, so always follow the operator's manual for your grill or contact your distributor. The checklists below reflect suggested general care for Taylor clamshell grills. Steps may vary by operational guidelines, health codes, and equipment model.
Daily Maintenance Checklist
Daily care does the most to protect two-sided grills for high-volume kitchens. Use this daily grill maintenance checklist as your guide to how to clean a commercial grill during and after service.
Throughout the Shift
- Scrape the lower grill surface - front to back. Use the grill scraper to scrape the lower grill surface from front to back after each run of product. Be sure to avoid scraping across the rear of the lower grill surface.
- Use the wiper squeegee the right way. Use the squeegee to clean the release sheet and push grease into the grease cans. Use light pressure to avoid scratching or tearing the release sheet.
- Wipe release sheets frequently. Wipe the release sheets with a clean, sanitizer-soaked grill cloth at least four times an hour - often during peak periods. This can extend your release sheet life.
- Wipe the backsplash and bullnose areas as needed.
End of Day
- Run the grill's clean mode, then remove the release sheets and lay them flat near the sink.
- Scrape the lower surface front to back and then use the squeegee to push remaining grease into the grease cans. Remove and empty grease cans.
- Apply an approved high-temperature grill cleaner to the platens, platen edges, handle undersides and rear shields, then scrub lightly with the approved non-abrasive pad.
- Rinse every surface with a sanitizer-soaked grill cloth until any residue is removed.
- Clean both sides of each release sheet, rinse and let it air-dry flat.
- Wash and reinstall the grease cans, then wipe down exterior panels.
- When reinstalling release sheets, rotate them to the opposite side from the previous day to maximize sheet life and maintain consistent heat transfer.
For clamshell grill cleaning, stick with the approved cleaner, non-abrasive pad and squeegee, and let hot surfaces cool on their own. Keep water jets, metal scrapers, wire brushes, grill screens, cold water and ice away from the grill.
Weekly Maintenance Checklist
Daily cleaning covers the essentials. Weekly tasks catch the areas daily cleaning can't reach.
- Pull the grill away from the wall, following your manual's steps for safety, then clean behind and underneath it.
- Inspect release sheets. Replace any sheet with a tear in the cooking area or buildup that won't clean off. Small pinholes don't require a new sheet.
- Check your supply of release sheets, clips, cleaning pads and approved cleaner, and reorder genuine commercial grill parts through your distributor.
- Look over the power cord and gas hose for visible damage, and confirm the casters are locked once the grill is back in place.
Monthly Maintenance Checklist
Monthly checks focus on performance and crew habits.
- Compare cook results across every zone. Uneven color or doneness can point to buildup, a worn release sheet, or a calibration need.
- Confirm programmed time, temperature, and gap settings match your menu standards. Always check with your owner or regional manager before changing them.
- Review cleaning logs and walk new team members through the routine.
- Plan preventive visits with your distributor to support long-term reliability. Our article on how preventive maintenance saves you thousands explains why that schedule pays off.
These grill maintenance tips also fit into a broader commercial kitchen equipment maintenance checklist, so your grill, soft serve machines, and frozen beverage equipment can share one calendar.
Signs Your Grill Needs Professional Service
Some symptoms call for a technician rather than more cleaning:
- Uneven cooking that continues after a full cleaning and a fresh release sheet, which can mean the platen isn't level or the gap is off
- An upper platen that won't lower to its preset gap or won't stay in the cook position
- A heat zone that won't reach temperature or runs too hot
- On gas models, a burner that won't light or stay lit after you've checked the gas supply
Scheduling commercial grill repair early keeps fixes small and downtime short.
Protecting Your Warranty Through Proper Maintenance
Taylor's grill warranty is built around the same habits on this checklist. Warranty terms call for care and maintenance that follow the operator's manual, service from an authorized Taylor distributor or service agency, and genuine Taylor parts. Using approved cleaners, pads and tools protects the cooking surfaces, while genuine parts and authorized service keep your coverage intact. Routine cleaning and wear items like release sheets and clips fall under normal operating costs, so budget for them alongside your commercial equipment maintenance plan.
When to Call an Authorized Taylor Technician
Call your local Taylor distributor any time the grill shows one of the signs above, before attempting any repair beyond routine cleaning, and when it's time to plan preventive service. Distributors also offer Turbo Charge training, where instructors walk your crew through cleaning procedures, preventive maintenance and correct calibration, on-site or at the distributor's location, in English or Spanish. If you're adding locations or replacing older units, they can also guide you through choosing a commercial grill for high-volume kitchens.
A consistent routine keeps your grill cooking the way it did on day one. Contact your local Taylor distributor today to determine if your equipment is the best fit for your bottom line.
Frequently Asked Questions
Disclaimer
This blog is provided for general informational purposes only and is not intended to replace the instructions, warnings, or procedures in your Taylor Operator’s Manual for your specific equipment. Always follow the cleaning, operation, and safety requirements outlined in the applicable operator manual and any instructions provided by an authorized Taylor distributor/service provider.
Cleaning and sanitizing requirements are also governed by federal, state/provincial, and local health and food safety regulations and by your organization’s internal operational policies and training standards. Those requirements may be more stringent than the guidance summarized here and must be followed accordingly.
Procedures, tools, chemicals, and recommended frequencies may vary by grill model, configuration, installation environment, and menu application. If there is any conflict between this blog and the operator manual, your health code requirements, or your company’s operating guidelines, the manual and applicable regulations/policies take priority.